Showing posts with label Babiekins. Show all posts

DIY : glittery feather clip

As you may know I also do DIY craft projects for American children's fashion blog Babiekins. I had this idea is for Babiekins, but I really love it and plan to wear it myself, so thought I would share it with you.

You will need:

clip
5 feathers
glitter
scissors
craft glue
hot glue gun

1. First cut your feather down to size, mine were 5cm long.


2. Spread craft glue on the end of the feather.
3. Dip the glued end of the feather in the glitter.

4. Repeat for all five feathers.
5. Use the hot glue gun to attach the feathers to the clip.

Gorgeous!

DIY : pencil holder

I have been making these pencil holders for years. They are so easy, cheap and I love the recycled aspect of them too. You can really personalise them with the artwork you use, over the years I have tried drawings, photographs, patterns, its really up to you.

You will need:
tin can, empty, clean, with one end removed and the edge smoothed
artwork to cover can 
double sided tape
decorative washi tape
scissors


1. Measure the height (if your can has a lip, do not include this in the measurement) and circumference of your can, add 2cm to the circumference and this is the size the artwork needs to be. Cut it out.

2. On the back of the artwork, place double sided tape along both of the short edges.

3. Remove the tape from one of these edges and attach the artwork to the can.


4. Firmly roll the artwork around the can and use the double sided tape to attach the other end.
5. Place half the width of the washi tape at the top of the can, stick it on around the circumference of the can. Then fold the other half down and stick it to the inside of the can.


block printing

As a fabric designer I actually don't do any printing as part of my work but I am very interested in the process of making marks on cloth and recently have been experimenting with this. Below is one such experiment which is so simple any one could try it at home!

You will need:
garment - I used a denim jacket
fabric paint - I used white
cork
sponge
plastic


1. Lay your garment flat and place the plastic inside, this will stop the paint soaking through to the other side.
2. I like to put the paint on a sponge then dab the sponge with my cork, this creates a nice even coverage of paint on the cork.

3. Firmly press the cork onto the garment to print the dot. 

4. I printed the front arms, body and collar first, waited for this to touch dry then I print in the same order on the back.
5. Follow manufacturers instructions for drying and setting the paint.

christmas peg dolls

I haven't had time to feel very festive so far this year, but I just did a Christmas craft post on Babiekins and now the ideas are starting to follow. There will be a few more posts before Christmas.
My Babiekins post was a peg angel, I made a couple but just gave the instructions for the gold version pictured below.

Anyone who knows me, know I love making peg dolls! I few years ago I art directed a children's TV show which involved making a city populated by peg people. 
A few years ago also did a Christmas craft story for an interiors magazine and made festive peg dolls, Santa, Mrs Claus, Rudolph and an elf. These peg dolls come out each year to grace our shelf. I unpacked them today...

One Christmas's I made peg fairies for friends, with lovely pom pom skirts, they were also unpacked today.


crafting

Louise from Mima and Moo also writes a weekly craft post for the blog of the lovely American children's fashion magazine Babiekins. We are so happy to be part of this blog. Below are the posts we have done so far:
Fake Plastic Painted Animals


Rosette Picture Frame


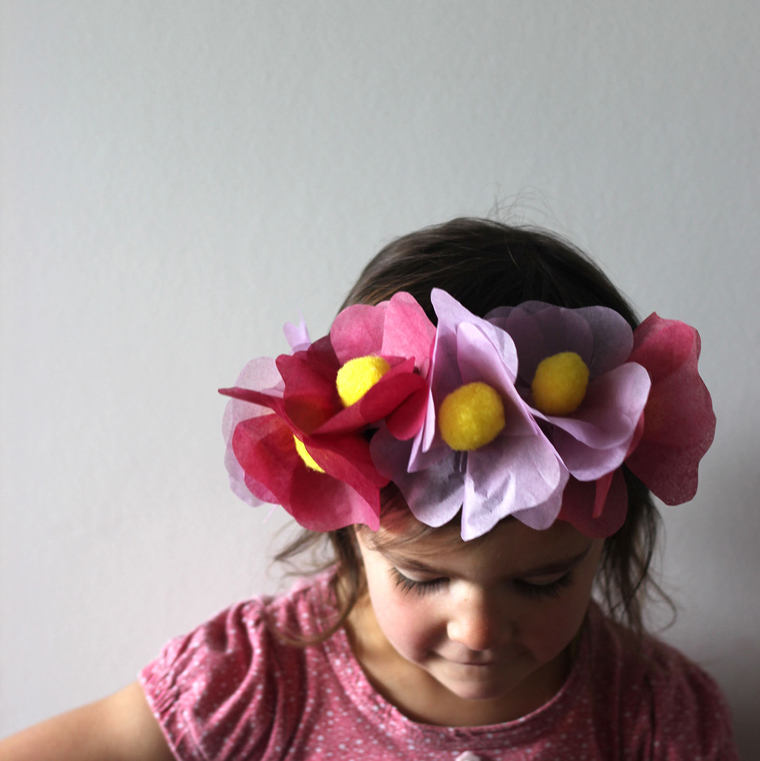
Floral Headband